Subscribing to Reports
Overview
With Dataplane report subscriptions you can set up any Dataplane report to automatically run on a daily, weekly or monthly schedule of your choosing, with up-to-date PDF reports emailed to your inbox and to any number of additional Jira users.
Easily and automatically deliver up-to-date metrics right to your executive team, managers or developers to keep everyone on the same page. And Dataplane's report subscription flexibility lets you even subscribe to reports that others have created and shared with you.
Dataplane subscription emails are simple, clear and mobile-friendly, while giving recipients enough details to understand the context of the included report.
Continue reading to learn how to get started with report subscriptions in Dataplane.
Creating a Report Subscription
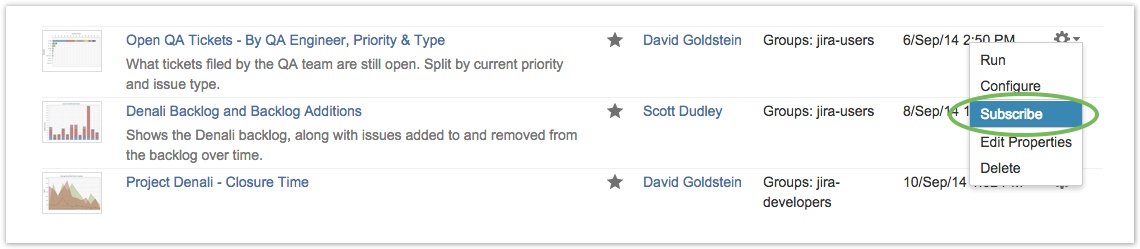
To subscribe to a Dataplane report, first go to the Reports directory by clicking on Dataplane Reports -> Reports from the main Jira menu. Find the report of interest in the list of saved reports, click on the tool gear icon in the row for that report and select the Subscribe menu item.
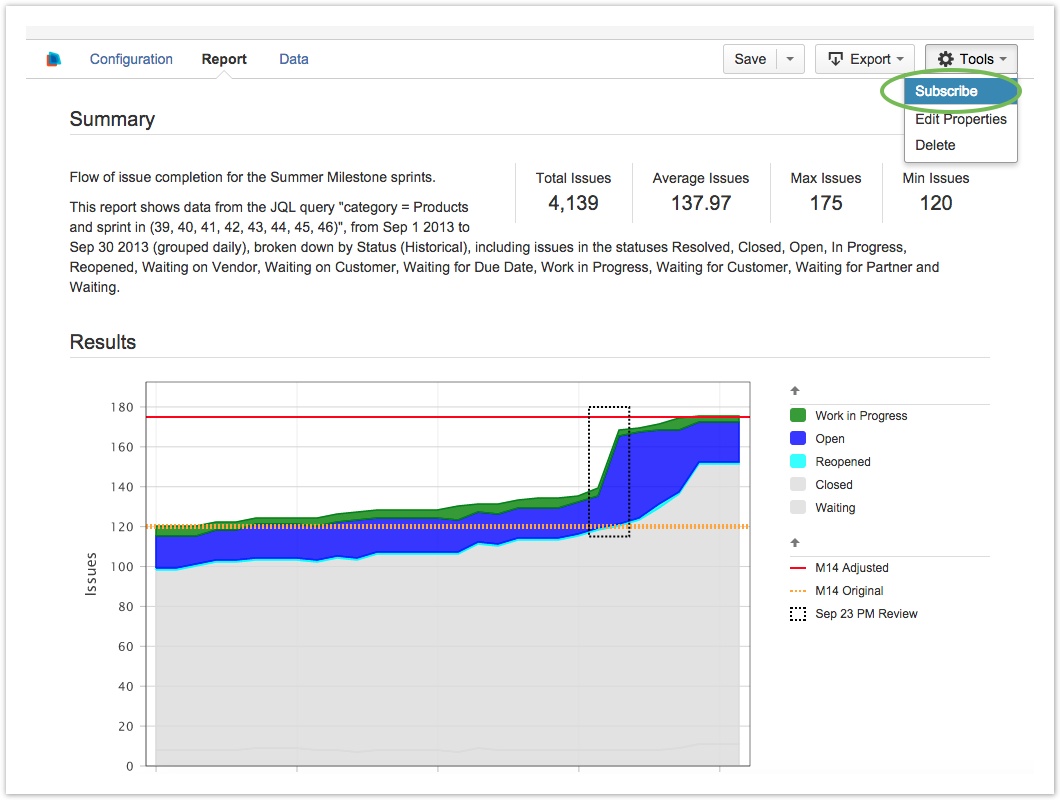
If you are in the middle of running or editing a saved report, you have quick access to subscribing to that report by selecting Subscribe from the Tools menu in the top right corner of the report page.
You may subscribe to any Dataplane report to which you have access, including those created and shared with you by others.
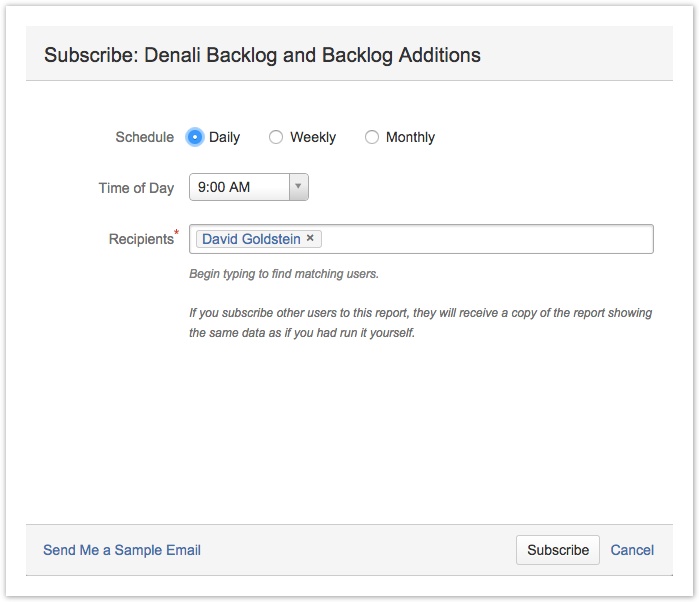
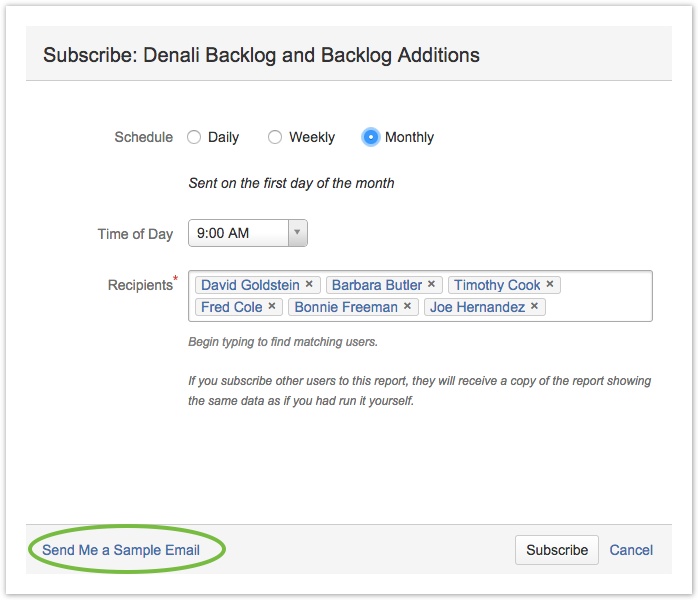
Upon clicking Subscribe, a dialog window will open allowing you to configure all the properties of your report subscription, including the schedule, time and any additional recipients to whom the report should also be sent.
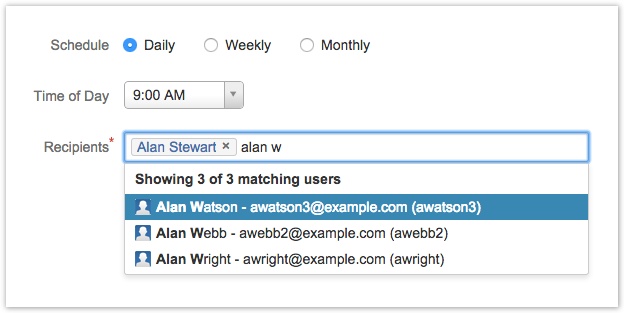
Selecting a Schedule
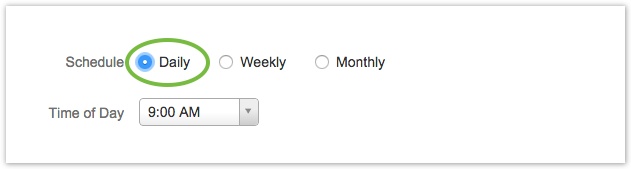
There are three options for the schedule on which reports may be sent: Daily, Weekly or Monthly.
Selecting Daily means that your reports will be sent every day, at one selected time of day.
Selecting Weekly means that your reports will be sent every week, on one or more selected days of the week. When selecting a weekly schedule, click on all the Days of the Week on which you want the report to be sent. The report will be sent at the same time on each selected day.

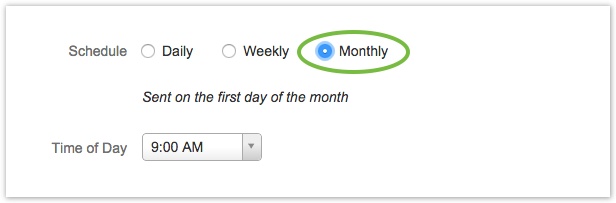
To send your reports just one time per month, select the Monthly schedule option. All monthly reports are sent on the first day of the month, at the selected time.
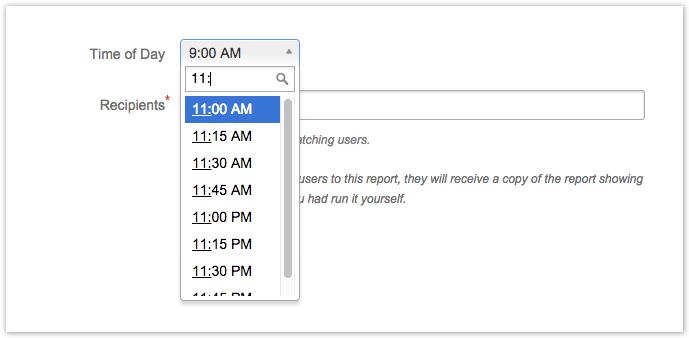
Use the Time of Day drop down to select at what time during the day you would like the report to be sent. This time is based on your own time zone as defined in your Jira user profile. If you need to verify or change your preferred time zone, see Managing your User Profile in the Jira documentation. With the Time of Day setting you can also just start typing your desired time and the drop-down will automatically suggest matches.
Adding Recipients
When creating a new report subscription, by default the current user is selected as the recipient of the reports. By editing the Recipients setting, you can add any number of additional Jira users as recipients of the same report subscription. If you are set up with Browse Users permission in Jira, just start typing to get a list of matching users in Jira from which to select. Otherwise, you will need to type a complete user name to add it to the recipients list.
Report subscription emails are sent to all recipients in the list at the same time — no adjustment is made per recipient based on their own time zone.
Sending a Sample Email
When first setting up a report subscription, you may find it helpful to send a sample subscription email to yourself to see what all the recipients will view in their inbox, including the contents and format of any custom report description you've added.
Click on Send Me a Sample Email in the bottom left corner of the Subscribe dialog box to send a sample subscription report to your inbox. The sample email will be sent to you immediately upon clicking the link, and is unaffected by any of the schedule, time or recipient settings.
Sending a sample email using this feature does not send any email to the selected subscription recipients.
Only the current user setting up the subscription receives the sample email.
Starting Your Subscription
Once you have the subscription configured as desired, click on the Subscribe button in the dialog box to start your subscription.
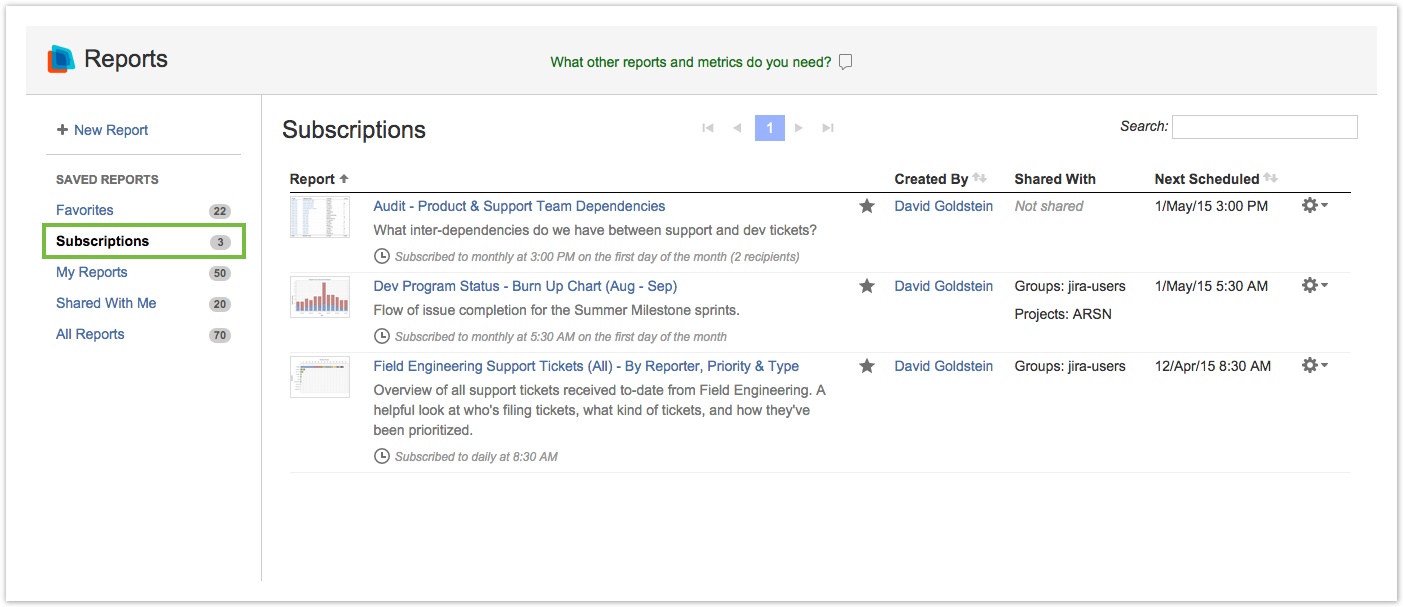
Viewing Report Subscriptions
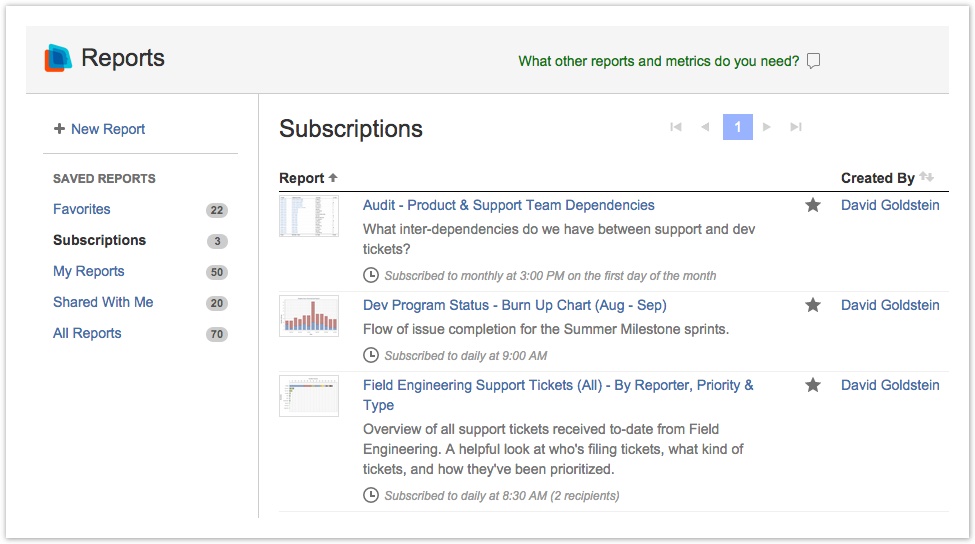
All your report subscriptions are viewable from the main Dataplane Reports directory. Click on the Subscriptions link in the left sidebar to see a list of all reports to which you have subscribed.
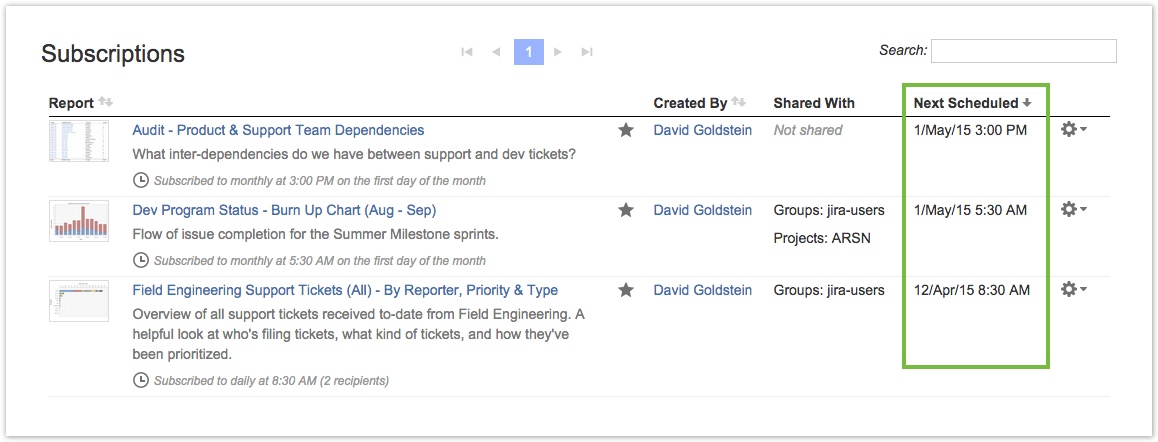
When viewing your Subscriptions list, click on the Next Scheduled column heading to sort your subscriptions by when each will next be sent.
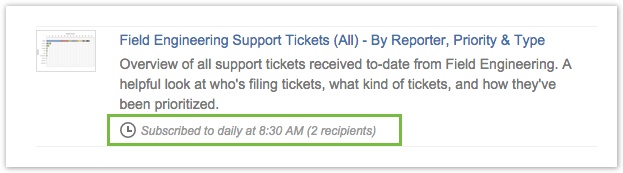
When viewing saved reports in the Reports directory, the listing of each saved report to which you have a report subscription is annotated with a clock icon and a description of the subscription you have set up, including its schedule and number of recipients.
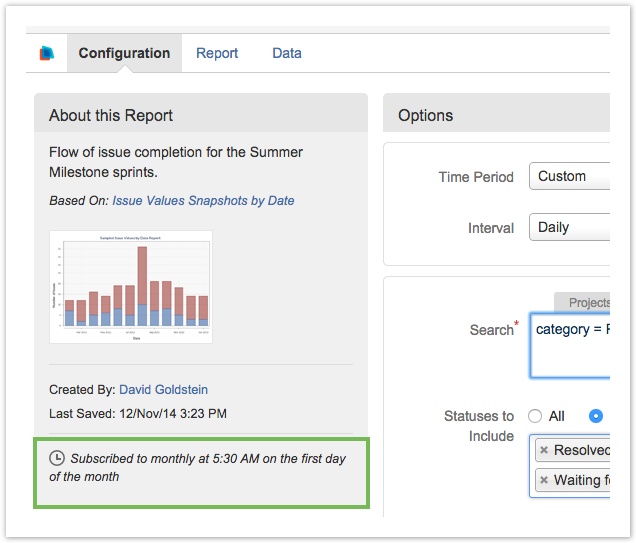
When working with individual reports, you can also find this description in the About this Report box on the report configuration page.
Subscription Emails
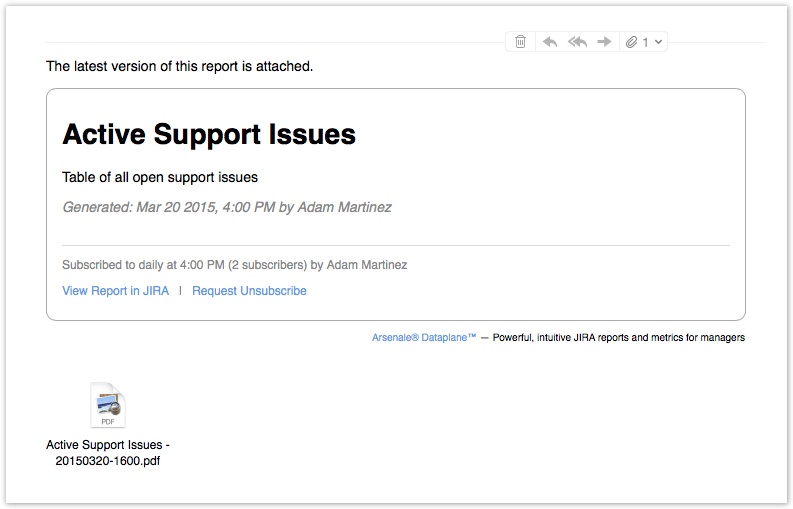
Report subscription emails include the report name, any user-defined report description, and a timestamp of when the report was generated. The report itself is included as a PDF file attachment. The email also includes a confirmation of the subscription schedule, which helps inform other recipients as to how often to expect reports.

In the email footer, you'll see links to view the report in Jira itself and to request being unsubscribed from the report.
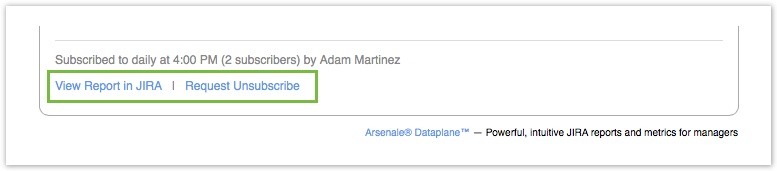
The Request Unsubscribe link is only included in emails sent to recipients other than the user who originally set up the report subscription.
Editing a Report Subscription
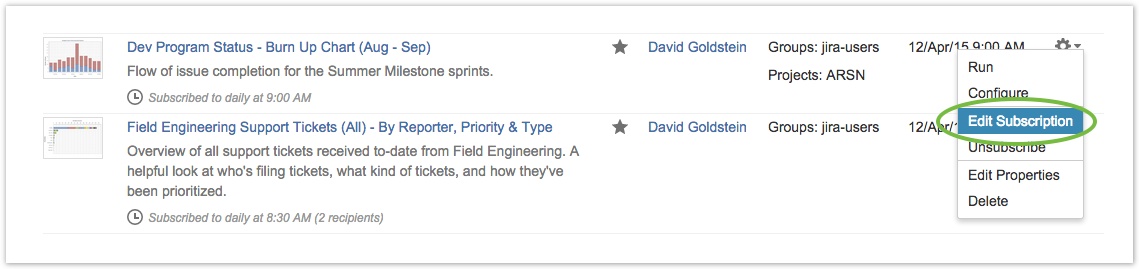
Modifying an existing report subscription is as easy as the initial setup. From the Reports directory, click on the Subscriptions link in the left sidebar to view all your subscribed-to reports or search for the report of interest using the Search box in any of the saved reports lists. Then click on the toolgear -> Edit Subscription menu item for the report subscription of interest.
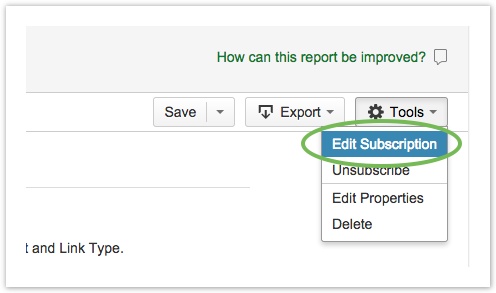
If you are in the middle of running or editing a saved report, you can easily edit the current subscription by selecting Edit Subscription from the Tools menu in the top right corner of the report page.
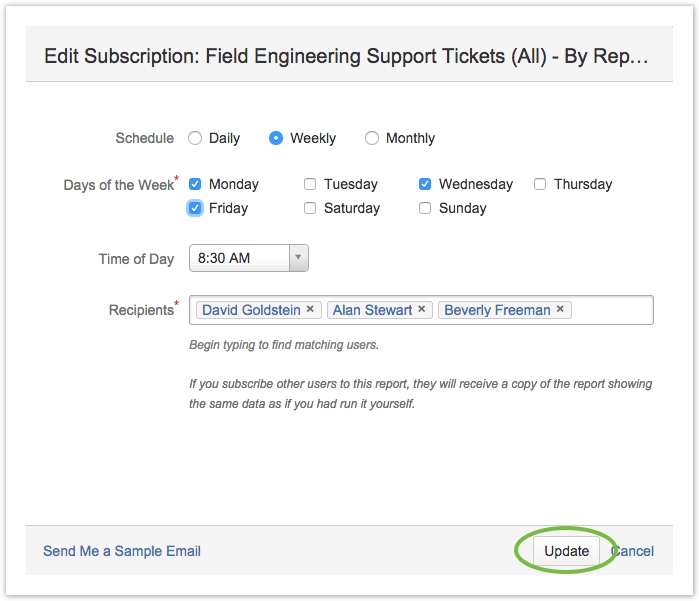
Editing your current subscription brings up an identical dialog box to when the subscription was first created. Make your changes and click on the Update button to save them.
Unsubscribing from a Report
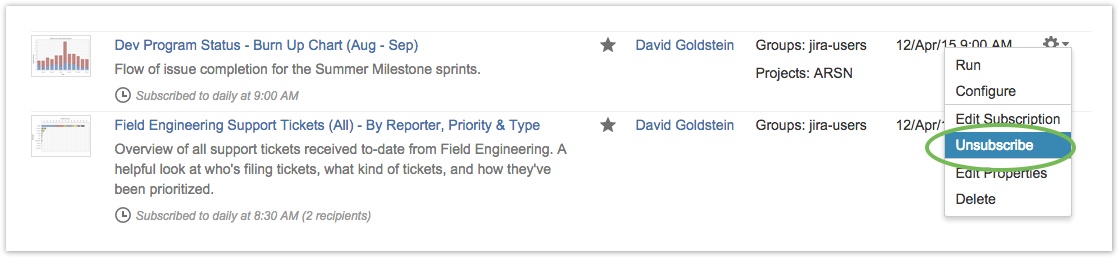
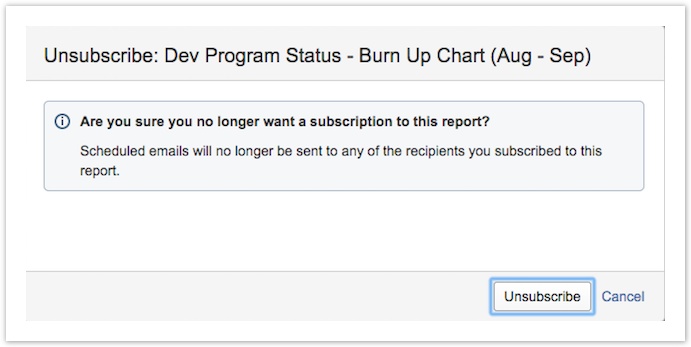
To delete a report subscription, click on the toolgear -> Unsubscribe menu item for the report of interest.
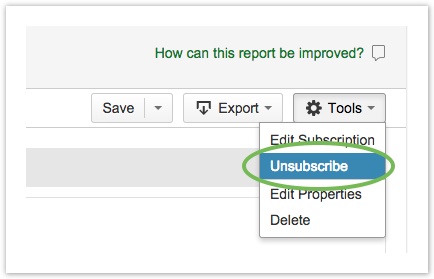
Or if you are viewing or editing a specific report, click on Tools -> Unsubscribe from the top right of the report page.
Unsubscribing from a report deletes your subscription to that report. Scheduled emails will no longer be sent to any of the recipients to which you subscribed the report.
Page Contents