Saving Reports
Saving a Report
After creating and running a new report, click the Save As... button to save a copy of the currently-selected report options.
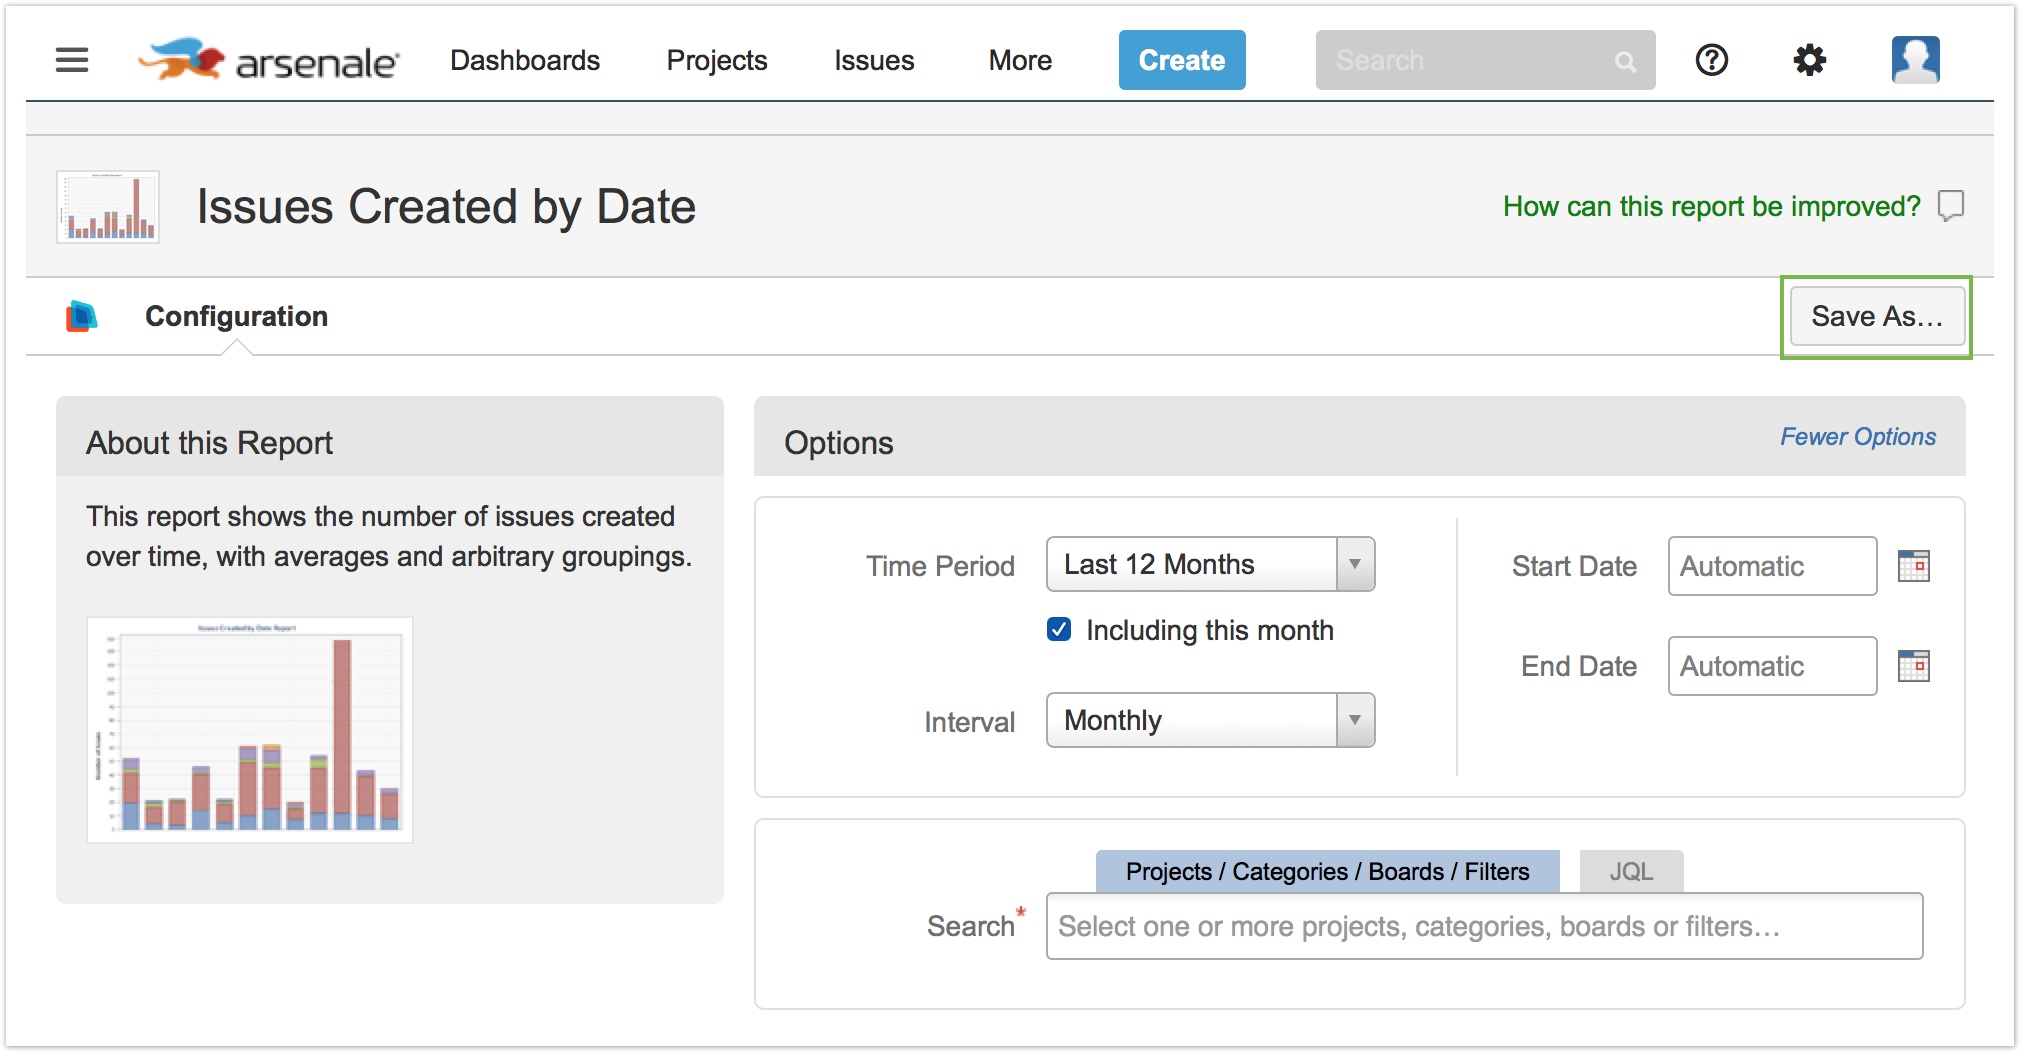
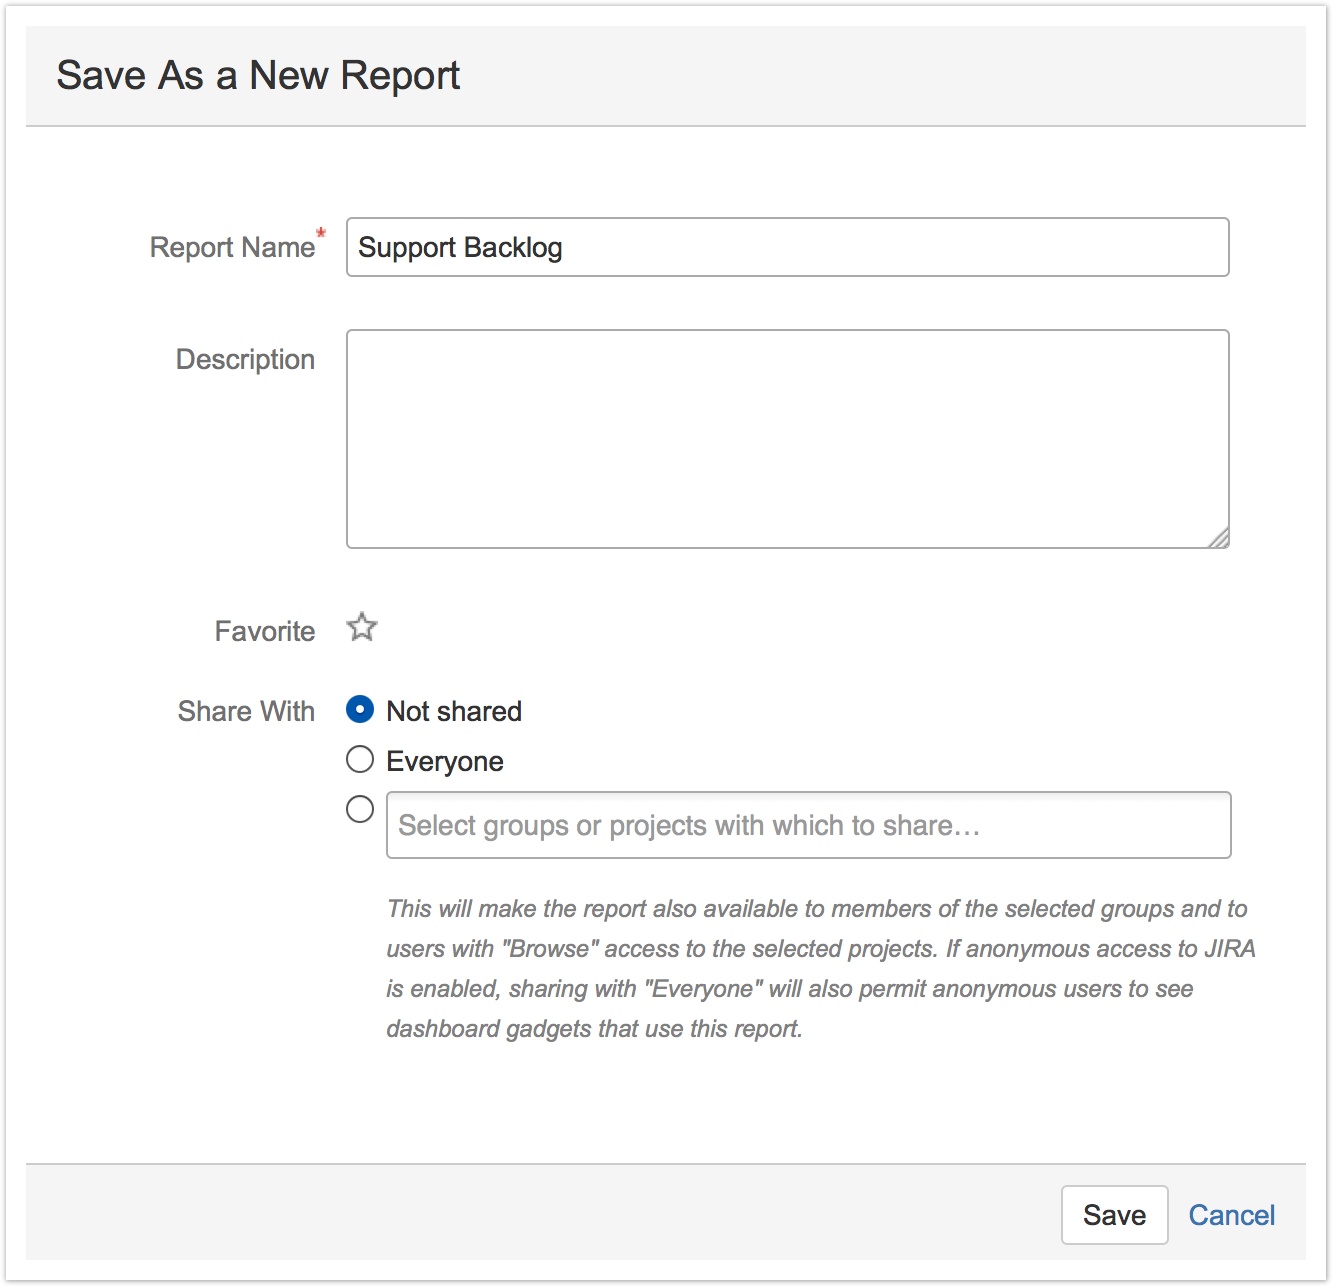
In the resulting Save As dialog, give your report a new name, provide a description (to be displayed in the report directory, and optionally in the Summary section of your report results), mark the report as a favorite report, and select the sharing options for the report.
Sharing the Report
The Share With control allows you to specify the other users in Jira who will be able to use the report. The default sharing options populated in this control for new reports can be configured by your Jira administrator.
The Not shared option makes the report visible only to you.
The Everyone option makes the report available to all users. If your Jira instance is configured to permit anonymous access and the report is added to a dashboard gadget on a public dashboard, this report will also be viewable by anonymous users (those who have not logged in). Dataplane always respects other Jira permissions, so in order to be usable by anonymous users, the underlying dashboards, filters, and projects must also be visible to anonymous users.
The groups/projects field allows you to select any number of Jira groups and/or projects to share the report with. If you select a Jira project for sharing, any Jira user who has "browse" access to the project will also be permitted to view the report.
If you are using Internet Explorer 8 or 9 and you have already run the current report when clicking Save As, you will need to re-run the report to see the chart again. This restriction does not apply to users of other browsers (including Internet Explorer 10+, Firefox, Chrome and Safari).
Saving as a New Report
Once you have saved a report once, the Save As... button will change into a Save and Save As... combination button. To quickly save any changes you have made to the configuration of the current report, simply click the left half of the Save button, and your changes will be saved instantly with no further interaction required.
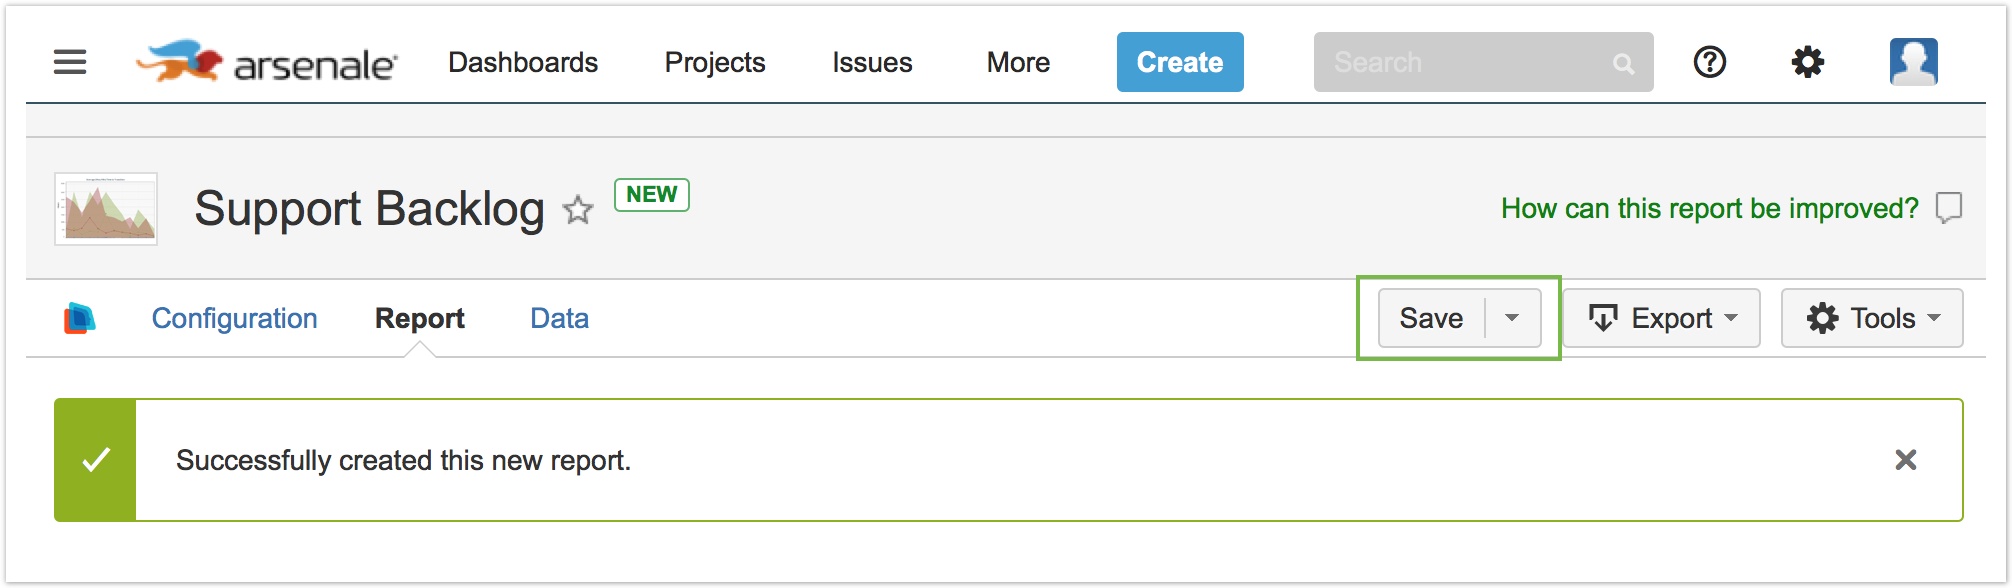
Instead, if you wish to save your most recent changes as a new report, click the arrow on the right-hand side of the Save dropdown, and then click Save As from the dropdown menu. Any changes you made will be saved to the new report and they will not have any impact on the originally-loaded report. The new report can also have its own description and sharing options.

Page Contents